Stop Trusting the Defaults. Your Containers Are More Exposed Than You Think.
Introduction: The Danger of Unfiltered Syscalls
A few years back, I was doing a security audit for a fintech client running a fairly standard Docker setup on AWS. Their containers were “secured” — namespaces, cgroups, a non-root user, the whole checklist. What they hadn’t thought about was syscall filtering.
During the audit, I was able to exploit an unfiltered ptrace syscall inside one of their Node.js containers to attach to another process within the same pod. The blast radius could have been catastrophic. It wasn’t a CVE. It wasn’t a fancy zero-day. It was just a container that had access to far more kernel functionality than it ever needed.
That incident changed how I think about container security. The container boundary is not a security boundary — the Linux kernel is. And if you’re not actively restricting which system calls your containers can make, you’re leaving a massive attack surface wide open.
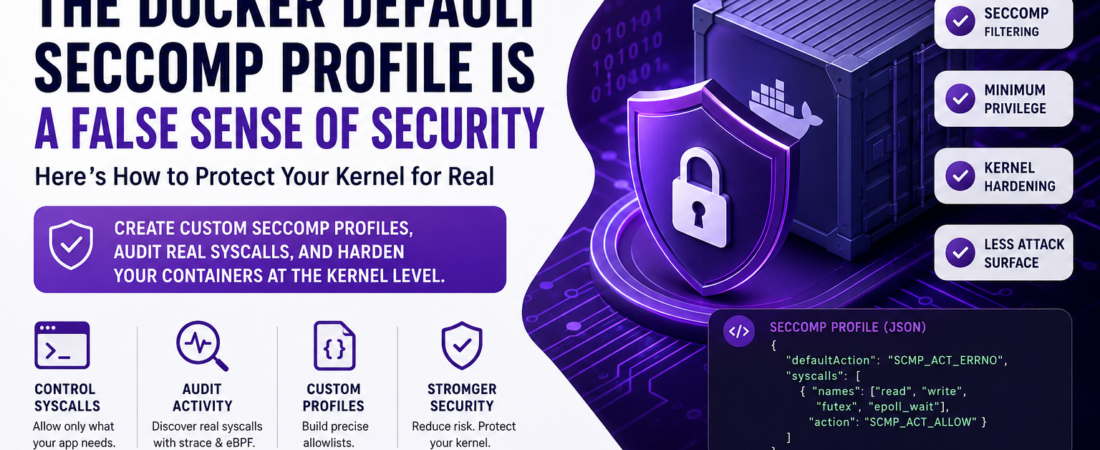
In this post, I’ll walk you through exactly why Docker’s built-in Seccomp profile isn’t enough, how I build custom profiles for production workloads, and how you can audit your own containers to know precisely which syscalls they need.
What Is Seccomp — My Practical Take
Seccomp (Secure Computing Mode) is a Linux kernel feature that allows a process to restrict the set of system calls it’s permitted to make. Think of it as a firewall, but instead of filtering network packets, it filters kernel calls.
There are two modes:
SECCOMP_SET_MODE_STRICT— onlyread,write,exit, andsigreturnare allowed. Basically unusable for real applications.SECCOMP_SET_MODE_FILTER— uses BPF (Berkeley Packet Filter) rules to define a custom allowlist or denylist. This is what Docker uses.
Docker ships with a default Seccomp profile that blocks around 44 syscalls out of ~300+ available. On the surface, that sounds reasonable. In practice, it means your container still has access to more than 260 syscalls — most of which your application will never call.
My view: the default profile is a starting point, not a destination. It’s designed for broad compatibility, not least-privilege security.
Tutorial: Creating a Custom Seccomp Profile
The goal is simple — build an allowlist of only the syscalls your application actually needs. Here’s the structure of a minimal Seccomp profile in JSON format, which is what Docker and Kubernetes expect:
Minimal Custom Profile Structure
{
  "defaultAction": "SCMP_ACT_ERRNO",
  "architectures": [
    "SCMP_ARCH_X86_64",
    "SCMP_ARCH_X86",
    "SCMP_ARCH_X32"
  ],
  "syscalls": [
    {
      "names": [
        "accept4",
        "arch_prctl",
        "brk",
        "capget",
        "capset",
        "chdir",
        "clock_gettime",
        "clone",
        "close",
        "connect",
        "dup2",
        "epoll_create1",
        "epoll_ctl",
        "epoll_wait",
        "execve",
        "exit_group",
        "fcntl",
        "fstat",
        "futex",
        "getdents64",
        "getegid",
        "geteuid",
        "getgid",
        "getpid",
        "getppid",
        "getrandom",
        "getuid",
        "ioctl",
        "lseek",
        "mmap",
        "mprotect",
        "munmap",
        "nanosleep",
        "newfstatat",
        "open",
        "openat",
        "pipe2",
        "poll",
        "prctl",
        "pread64",
        "read",
        "readlink",
        "recvfrom",
        "recvmsg",
        "rt_sigaction",
        "rt_sigprocmask",
        "rt_sigreturn",
        "sched_getaffinity",
        "sendmsg",
        "sendto",
        "set_robust_list",
        "set_tid_address",
        "setgid",
        "setgroups",
        "setuid",
        "sigaltstack",
        "socket",
        "stat",
        "sysinfo",
        "tgkill",
        "uname",
        "wait4",
        "write",
        "writev"
      ],
      "action": "SCMP_ACT_ALLOW"
    }
  ]
}
Key decision: I always use
SCMP_ACT_ERRNOasdefaultAction(returns a “not permitted” error) rather thanSCMP_ACT_KILL(which kills the process immediately). In my experience,ERRNOis easier to debug in staging — your app logs the error instead of dying silently, which makes auditing much more practical.
Applying the Profile to a Container
Save the file as custom-seccomp.json, then run:
docker run --rm \
  --security-opt seccomp=./custom-seccomp.json \
  my-app:latest
For Docker Compose:
version: "3.8"
services:
  app:
    image: my-app:latest
    security_opt:
      - seccomp:./custom-seccomp.json
For Kubernetes (using a Pod Security Context with a RuntimeDefault or custom profile via securityContext):
apiVersion: v1
kind: Pod
metadata:
  name: my-secure-app
  annotations:
    seccomp.security.alpha.kubernetes.io/pod: "localhost/custom-seccomp.json"
spec:
  securityContext:
    seccompProfile:
      type: Localhost
      localhostProfile: custom-seccomp.json
  containers:
    - name: app
      image: my-app:latest
How to Audit Which Syscalls Your Container Actually Needs
This is the part nobody talks about enough. You can’t build an accurate allowlist without knowing what your application actually calls. Here’s my go-to auditing workflow:
Step 1 — Run Your Container with strace
For quick local auditing, I run the container with strace to capture syscall activity:
docker run --rm \
  --cap-add SYS_PTRACE \
  --security-opt seccomp=unconfined \
  my-app:latest \
  strace -f -e trace=all -o /tmp/strace.log your-binary
Then extract the unique syscall names:
awk -F'(' '{print $1}' /tmp/strace.log | sort -u | grep -v '^\s*$'
Step 2 — Use oci-seccomp-bpf-hook for Production-Grade Auditing
For a more accurate and production-like result, I use oci-seccomp-bpf-hook, which hooks into the container runtime and records all syscalls via eBPF without performance overhead:
# Install on Fedora/RHEL
sudo dnf install oci-seccomp-bpf-hook

# Run container with hook enabled, output to JSON
docker run \
  --annotation io.containers.trace-syscall="of:/tmp/profile.json" \
  my-app:latest
The output is a valid Seccomp profile JSON you can use directly or trim further.
Step 3 — Cross-Reference with docker diff and Application Logs
After auditing, I always test the profile in staging with SCMP_ACT_LOG (logs blocked calls without enforcing) before flipping to SCMP_ACT_ERRNO:
{
  "defaultAction": "SCMP_ACT_LOG",
  ...
}
Check your kernel logs:
sudo journalctl -k | grep SECCOMP
# or
sudo dmesg | grep audit
This catches edge cases — think startup routines, health checks, or signal handlers that only fire under specific conditions.
Common Mistakes I’ve Made (And Watched Others Make)
- Not including
exit_group— your container will hang instead of shutting down cleanly. I did this embarrassingly often early on. - Forgetting
futex— most threading runtimes (Go, Java, Python) need this for mutexes and goroutine scheduling. Missing it causes random deadlocks under load. - Using
SCMP_ACT_KILLin staging — when a blocked syscall kills your process silently, debugging becomes a nightmare. Always useSCMP_ACT_ERRNOorSCMP_ACT_LOGduring development. - Building one profile for all containers — a Go HTTP API and a Python data-processing job have completely different syscall profiles. Treat each workload independently.
Conclusion: The Balance Between Security and Usability
Seccomp is one of the most underutilized kernel hardening tools in the cloud-native ecosystem. I’ve seen teams spend weeks hardening their network policies and IAM roles while their containers sit on a near-default Seccomp profile with access to over 260 syscalls they don’t need.
The process I’ve described isn’t perfect on the first pass — you’ll need at least two or three auditing cycles, and you should always test under realistic load before enforcing in production. But the payoff is real: a container that can only call the syscalls it was designed to use has a dramatically smaller kernel attack surface, even if a CVE lands in a dependency.
Security and usability aren’t mutually exclusive here. A well-crafted Seccomp profile is essentially invisible to a correctly functioning application — and absolutely essential when something tries to go wrong.
Start with the Docker default profile, audit your syscalls, and iterate toward least privilege. Your kernel will thank you.
Have you built custom Seccomp profiles for your workloads? I’d love to hear what worked (or didn’t) — drop a comment below or reach out on LinkedIn.